Tara’s Contouring Tips With Vibriance Complexion Sticks
"The right makeup doesn’t change you—it reveals you."
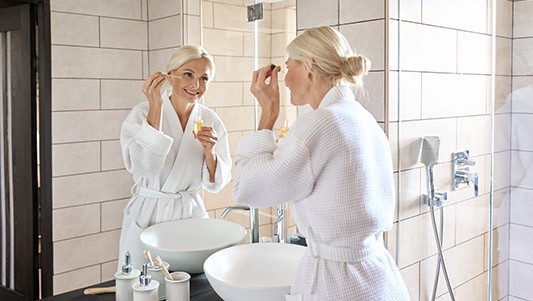
When I travel, my makeup bag goes on a strict diet—only the essentials survive. It’s a tough audition: if it doesn’t multitask, hydrate, and make me look like I’ve had eight hours of sleep (even when I haven’t), it stays home.
That’s why Vibriance Makeup Simplified always makes the cut. It’s like having a whole glam squad in four little sticks—perfect for women over 50 who want beauty without the baggage.
And here’s the best part: you don’t need a plane ticket to get that easy, vacation-ready glow.
With the right products, you can have that light, fresh, effortless look every single day.
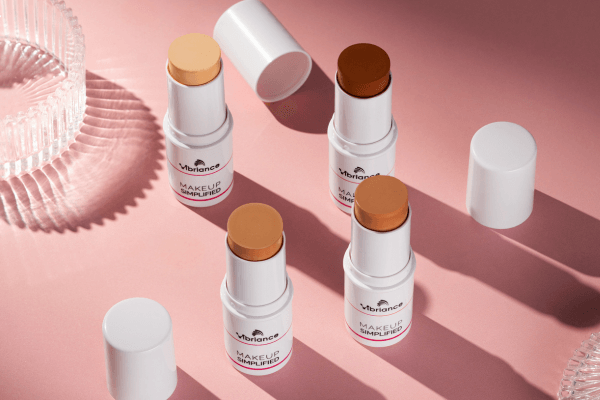
And when you have all four shades, you can customize your perfect base, conceal and brighten exactly where you want, contour for definition, and highlight for that soft, radiant lift—all from the same streamlined set.
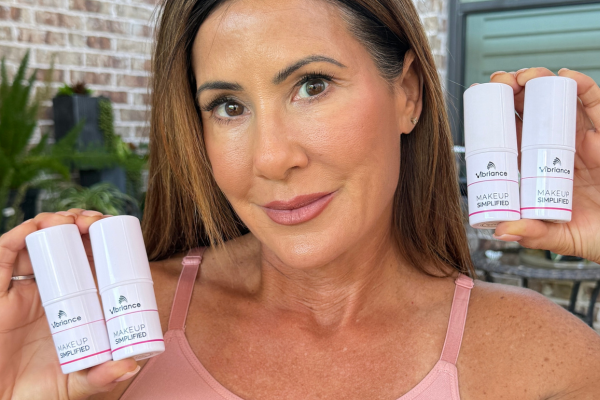
Today, Tara is sharing her step-by-step guide to creating a natural, defined, and lifted look using all four shades of the Vibriance Complexion Stick.
Her tutorial covers every step—base, concealing, contouring, and highlighting—so you can master a quick, everyday routine or elevate your makeup for a special occasion.
Step 1: Create Your Base
Tara starts with Medium as her all-over base because it’s a perfect match for her skin tone. You’ll want to begin with the shade that works best for your complexion, and with four Vibriance Complexion Stick shades to choose from, there’s one that’s just right for you.
"The right makeup doesn’t change you—it reveals you." -Unknown
When I travel, my makeup bag goes on a strict diet—only the essentials survive. It’s a tough audition: if it doesn’t multitask, hydrate, and make me look like I’ve had eight hours of sleep (even when I haven’t), it stays home.
That’s why Vibriance Makeup Simplified always makes the cut. It’s like having a whole glam squad in four little sticks—perfect for women over 50 who want beauty without the baggage. And here’s the best part: you don’t need a plane ticket to get that easy, vacation-ready glow.
With the right products, you can have that light, fresh, effortless look every single day. And when you have all four shades, you can customize your perfect base, conceal and brighten exactly where you want, contour for definition, and highlight for that soft, radiant lift—all from the same streamlined set.
Today, Tara is sharing her step-by-step guide to creating a natural, defined, and lifted look using all four shades of the Vibriance Complexion Stick.
Her tutorial covers every step—base, concealing, contouring, and highlighting—so you can master a quick, everyday routine or elevate your makeup for a special occasion.
Step 1: Create Your Base
Tara starts with Medium as her all-over base because it’s a perfect match for her skin tone.
You’ll want to begin with the shade that works best for your complexion, and with four Vibriance Complexion Stick shades to choose from, there’s one that’s just right for you.
"The right makeup doesn’t change you—it reveals you."
When I travel, my makeup bag goes on a strict diet—only the essentials survive. It’s a tough audition: if it doesn’t multitask, hydrate, and make me look like I’ve had eight hours of sleep (even when I haven’t), it stays home.
That’s why Vibriance Complexion Sticks always makes the cut. It’s like having a whole glam squad in four little sticks—perfect for women over 50 who want beauty without the baggage.
And here’s the best part: you don’t need a plane ticket to get that easy, vacation-ready glow.
With the right products, you can have that light, fresh, effortless look every single day.
And when you have all four shades, you can customize your perfect base, conceal and brighten exactly where you want, contour for definition, and highlight for that soft, radiant lift—all from the same streamlined set.
Today, Tara is sharing her step-by-step guide to creating a natural, defined, and lifted look using all four shades of the Vibriance Complexion Stick.
Her tutorial covers every step—base, concealing, contouring, and highlighting—so you can master a quick, everyday routine or elevate your makeup for a special occasion.
Step 1: Create Your Base
Tara starts with Medium as her all-over base because it’s a perfect match for her skin tone.
You’ll want to begin with the shade that works best for your complexion, and with four Vibriance Complexion Stick shades to choose from, there’s one that’s just right for you.
One of the best features? You can customize your own shade by mixing any of the four sticks—perfect for seasonal changes or finding your exact match.
Once you’ve found (or created) your shade, apply it evenly over your face.
Tara prefers a brush for a smooth, flawless finish, but you can also use a sponge or your fingertips—whichever feels most comfortable.
The formula offers buildable coverage, so you can go from sheer and natural to full, even coverage that stays dewy and fresh without settling into fine lines or wrinkles.
Step 2: Conceal and Highlight
Tara reaches for Natural Beige to brighten under her eyes and conceal any spots.
For her, it melts right into the skin without leaving a white cast—a must for women over 50.
You’ll want to choose a shade that brightens your skin naturally, without looking stark or chalky. A good rule of thumb is one shade lighter than your base shade.
If your base shade is already the lightest shade, stick with that for highlighting. Apply it where you need a little extra coverage—often that’s the inner corners of the eyes, the under-eye area, or around the nose.
Tara uses a small brush for precision, especially when sweeping upward at the outer edges to lift the eye area.
You can do the same, then blend with a slightly wider brush or a sponge for a soft, seamless finish.
One of the best features? You can customize your own shade by mixing any of the four sticks—perfect for seasonal changes or finding your exact match.
Once you’ve found (or created) your shade, apply it evenly over your face.
Tara prefers a brush for a smooth, flawless finish, but you can also use a sponge or your fingertips—whichever feels most comfortable.
The formula offers buildable coverage, so you can go from sheer and natural to full, even coverage that stays dewy and fresh without settling into fine lines or wrinkles.
Step 2: Conceal and Highlight
Tara reaches for Natural Beige to brighten under her eyes and conceal any spots.
For her, it melts right into the skin without leaving a white cast—a must for women over 50.
You’ll want to choose a shade that brightens your skin naturally, without looking stark or chalky. A good rule of thumb is one shade lighter than your base shade.
If your base shade is already the lightest shade, stick with that for highlighting. Apply it where you need a little extra coverage—often that’s the inner corners of the eyes, the under-eye area, or around the nose.
Tara uses a small brush for precision, especially when sweeping upward at the outer edges to lift the eye area. You can do the same, then blend with a slightly wider brush or a sponge for a soft, seamless finish.
Step 2: Conceal and Highlight
Tara reaches for Natural Beige to brighten under her eyes and conceal any spots. For her, it melts right into the skin without leaving a white cast—a must for women over 50.
Step 3: Contour for Definition
For contour, Tara uses Dark, applying it just under the upper cheekbone. This placement naturally lifts the face and avoids the “pulled down” effect that can happen if contour is placed too low.
Choose a shade that’s a few tones deeper than your base and apply it where you want more definition.
You can contour to create cheekbones or a more defined jawline, or even to add subtle shape along the temples.
If you prefer more control, pick up the product with a brush instead of applying it directly from the stick.
It may take a little extra blending, but the result is worth it—a natural, lifted look that works for both subtle and more sculpted styles.
Step 4: Add a Subtle Highlight
Tara finishes with Light as her highlighter, applying it above her contour and on the center of her forehead for a brightening, lifted effect.
You can follow her lead, placing your highlighter anywhere you want to catch the light.
Apply it to the tops of the cheekbones, brow bones, or even down the bridge of your nose for a soft glow.
The final step is blending everything with a fluffy brush so there are no harsh lines, just a smooth, cohesive finish that enhances your natural features.
The Takeaway
By using all four Vibriance Complexion Sticks together, you can create a custom look that enhances your natural features without ever feeling heavy.
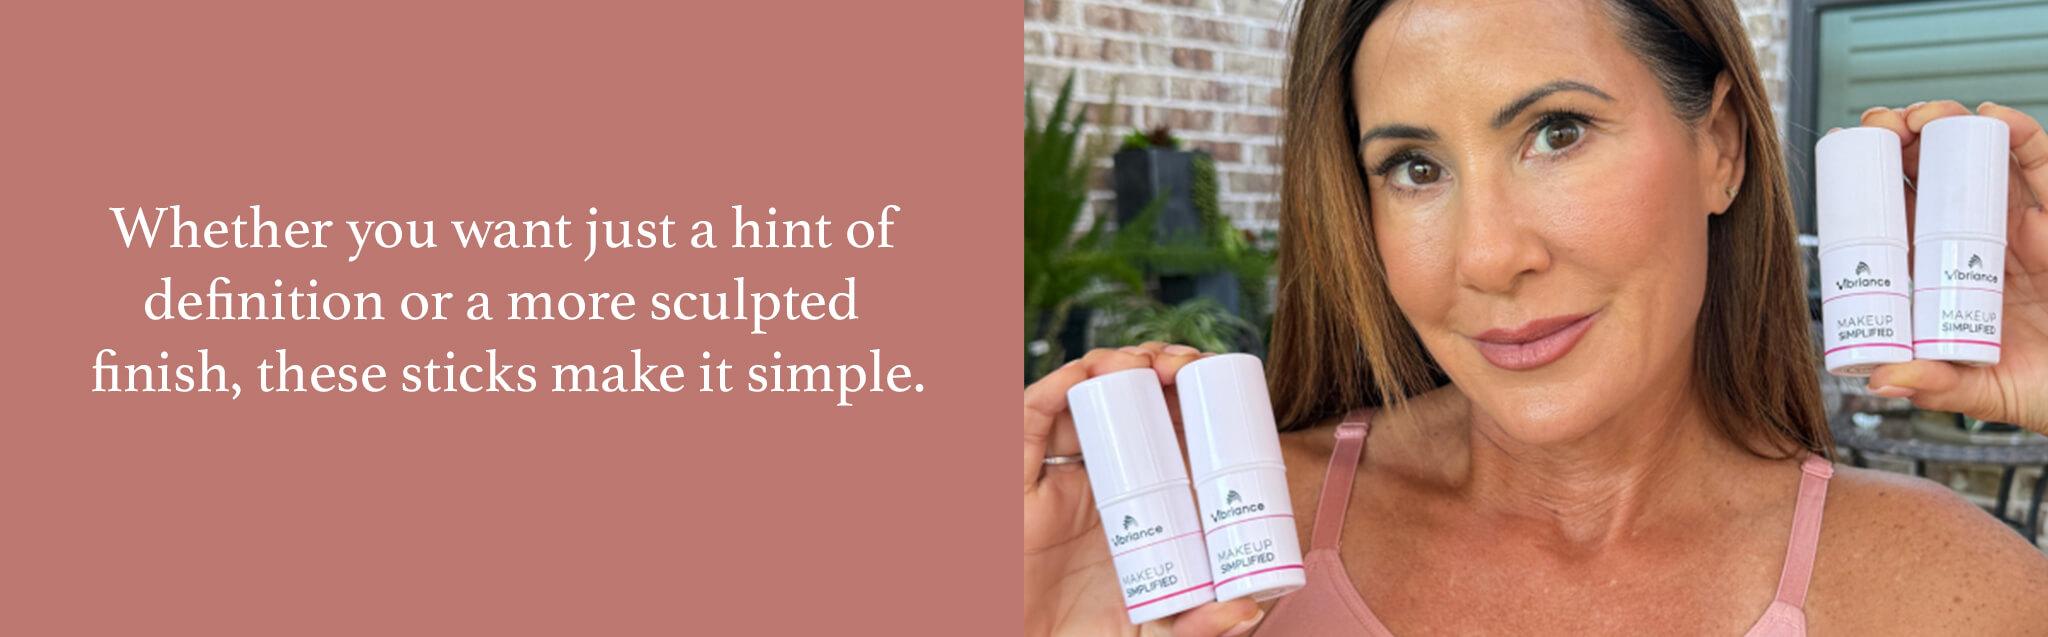
Whether you want just a hint of definition or a more sculpted finish, these sticks make it simple.
They’re hydrating, blendable, and designed for the needs of mature skin, so your makeup not only looks beautiful but feels comfortable all day.
The best part? You can mix and match shades, adjust your contour, or soften your highlight until you find the look you love.
Change it up depending on your mood or what you see in the mirror—add more concealer for late-night under-eye circles or dial up the contour for a dinner date.
With Vibriance, contouring isn’t complicated—it’s easy, approachable, and totally doable, every single day. Cheers to Positive Aging!
You’ll want to choose a shade that brightens your skin naturally, without looking stark or chalky. A good rule of thumb is one shade lighter than your base shade.
If your base shade is already the lightest shade, stick with that for highlighting. Apply it where you need a little extra coverage—often that’s the inner corners of the eyes, the under-eye area, or around the nose.
Tara uses a small brush for precision, especially when sweeping upward at the outer edges to lift the eye area. You can do the same, then blend with a slightly wider brush or a sponge for a soft, seamless finish.
Step 3: Contour for Definition
For contour, Tara uses Dark, applying it just under the upper cheekbone. This placement naturally lifts the face and avoids the “pulled down” effect that can happen if contour is placed too low.
Choose a shade that’s a few tones deeper than your base and apply it where you want more definition.
You can contour to create cheekbones or a more defined jawline, or even to add subtle shape along the temples.
If you prefer more control, pick up the product with a brush instead of applying it directly from the stick. It may take a little extra blending, but the result is worth it—a natural, lifted look that works for both subtle and more sculpted styles.
Step 4: Add a Subtle Highlight
Tara finishes with Light as her highlighter, applying it above her contour and on the center of her forehead for a brightening, lifted effect.
You can follow her lead, placing your highlighter anywhere you want to catch the light.
Apply it to the tops of the cheekbones, brow bones, or even down the bridge of your nose for a soft glow.
The final step is blending everything with a fluffy brush so there are no harsh lines, just a smooth, cohesive finish that enhances your natural features.
The Takeaway
By using all four Vibriance Complexion Sticks together, you can create a custom look that enhances your natural features without ever feeling heavy.
Whether you want just a hint of definition or a more sculpted finish, these sticks make it simple.
They’re hydrating, blendable, and designed for the needs of mature skin, so your makeup not only looks beautiful but feels comfortable all day.
The best part? You can mix and match shades, adjust your contour, or soften your highlight until you find the look you love. Change it up depending on your mood or what you see in the mirror—add more concealer for late-night under-eye circles or dial up the contour for a dinner date.
With Vibriance, contouring isn’t complicated—it’s easy, approachable, and totally doable, every single day. Cheers to Positive Aging!
Step 3: Contour for Definition
For contour, Tara uses Dark, applying it just under the upper cheekbone.
This placement naturally lifts the face and avoids the “pulled down” effect that can happen if contour is placed too low.
Choose a shade that’s a few tones deeper than your base and apply it where you want more definition.
You can contour to create cheekbones or a more defined jawline, or even to add subtle shape along the temples.
If you prefer more control, pick up the product with a brush instead of applying it directly from the stick. It may take a little extra blending, but the result is worth it—a natural, lifted look that works for both subtle and more sculpted styles.
Step 4: Add a Subtle Highlight
Tara finishes with Light as her highlighter, applying it above her contour and on the center of her forehead.
This creates a brightening, lifted effect that adds soft dimension and a radiant glow.
You can follow her lead, placing your highlighter anywhere you want to catch the light. Apply it to the tops of the cheekbones, brow bones, or even down the bridge of your nose for a soft glow.
The final step is blending everything with a fluffy brush so there are no harsh lines, just a smooth, cohesive finish that enhances your natural features.
The Takeaway
By using all four Vibriance Complexion Sticks together, you can create a custom look that enhances your natural features without ever feeling heavy.
Whether you want subtle definition or a sculpted finish, these sticks make it easy.
They’re hydrating, blendable, and designed for the needs of mature skin, so your makeup not only looks beautiful but feels comfortable all day.
The best part? You can mix and match shades, adjust your contour, or soften your highlight until you find the look you love. Change it up depending on your mood or what you see in the mirror—add more concealer for late-night under-eye circles or dial up the contour for a dinner date.
With Vibriance, contouring isn’t complicated—it’s easy, approachable, and totally doable, every single day. Cheers to Positive Aging!
CHECK OUT OUR MOST POPULAR CONTENT

5 Tips For Glowing Skin Over 50.

Beauty is Timeless... Not Flawless!

3 Ways To Embrace Aging.

5 Tips For Smooth Lips.

5 Tips For Living A 50+ And Fabulous Life!

3 Easy Steps for a Fresh Faced Look at Any Age.
10 Ways to DIY Your Spa Day at Home.